Conquering Bloodborne's challenging bosses can feel daunting, but a strategic approach significantly improves your chances of success. This guide outlines optimal boss encounter orders, catering to both completionists and those focused on the main storyline.
The suggested order isn't strictly mandatory; Bloodborne allows for some flexibility. However, tackling bosses in a specific sequence generally yields better rewards and a smoother gameplay experience. This guide covers 17 main game bosses and 5 from the *Old Hunters* DLC, excluding Chalice Dungeon bosses.
Table of Contents
- The Best Boss Order for Bloodborne
- Best Boss Order for Non-Optional Bosses in Bloodborne
- Best Boss Order for All Bosses in Bloodborne
- Our Best Boss Order, Explained
The Best Boss Order for Bloodborne
Two boss order lists are provided: one for essential bosses to complete the main story, and a comprehensive list including optional bosses for a complete playthrough. We strongly recommend tackling as many bosses as possible for optimal rewards and a richer experience. The DLC, *The Old Hunters*, is best approached towards the game's end, although some players prefer tackling it before Mergo's Wet Nurse; this choice impacts certain dialogue.
Best Boss Order for Non-Optional Bosses in Bloodborne
- Father Gascoigne
- Vicar Amelia
- Shadow of Yharnam
- Rom, the Vacuous Spider
- The One Reborn
- Micolash, Host of the Nightmare
- Mergo’s Wet Nurse
- Gehrman, the First Hunter
- Moon Presence (Ending Specific)
Best Boss Order for All Bosses in Bloodborne
- Cleric Beast (Optional)
- Father Gascoigne
- Blood-Starved Beast (Optional)
- Vicar Amelia
- The Witch of Hemwick (Optional)
- Shadow of Yharnam
- Rom, the Vacuous Spider
- Darkbeast Paarl (Optional)
- The One Reborn
- Martyr Logarius (Optional)
- Amygdala (Optional)
- Celestial Emissary (Optional)
- Micolash, Host of the Nightmare
- Ludwig the Accursed/Holy Blade (DLC/Optional)
- Laurence, the First Vicar (DLC/Optional)
- Living Failures (DLC/Optional)
- Lady Maria of the Astral Clocktower (DLC/Optional)
- Orphan of Kos (DLC/Optional)
- Ebrietas, Daughter of the Cosmos (Optional)
- Mergo’s Wet Nurse
- Gehrman, the First Hunter
- Moon Presence (Ending Specific)
Our Best Boss Order, Explained
The following sections detail strategies for each boss, offering insights into their attacks and effective countermeasures.
Cleric Beast (Optional)

Area: Central Yharnam. This early boss teaches fundamental combat. Focus on its hind legs to stagger it, then attack its head.
Father Gascoigne
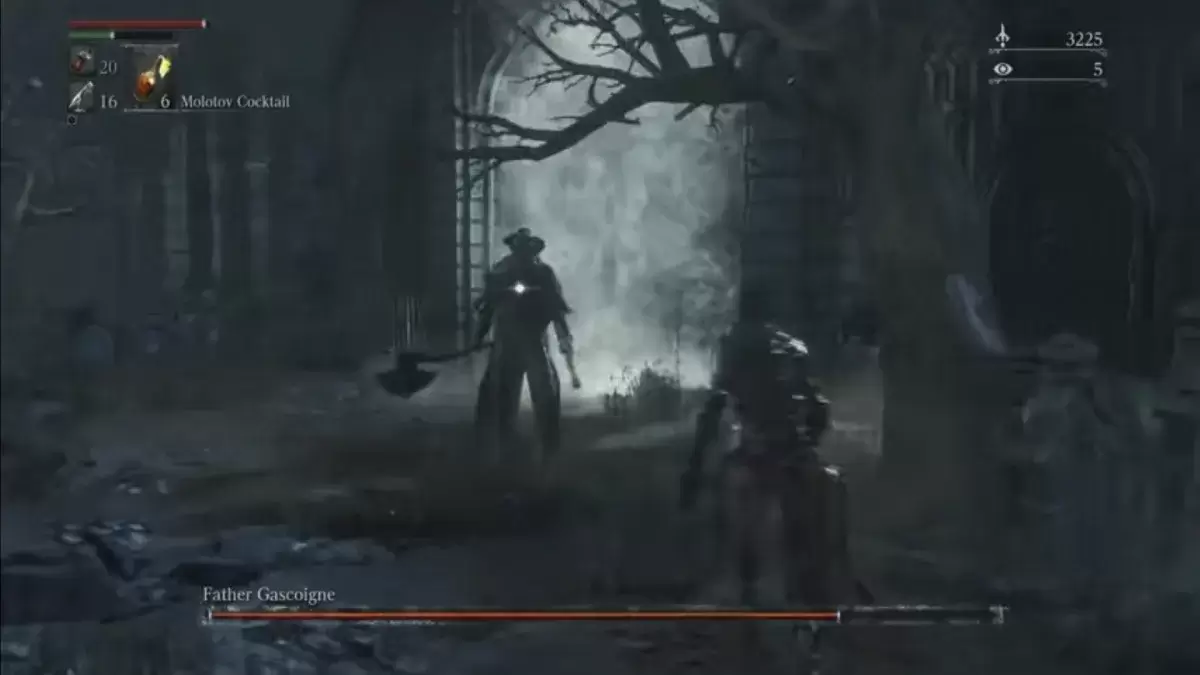
Area: Central Yharnam. Mastering parries is crucial here. His gun attacks are predictable; learn to time your dodges and counter-attacks.
Blood-Starved Beast (Optional)
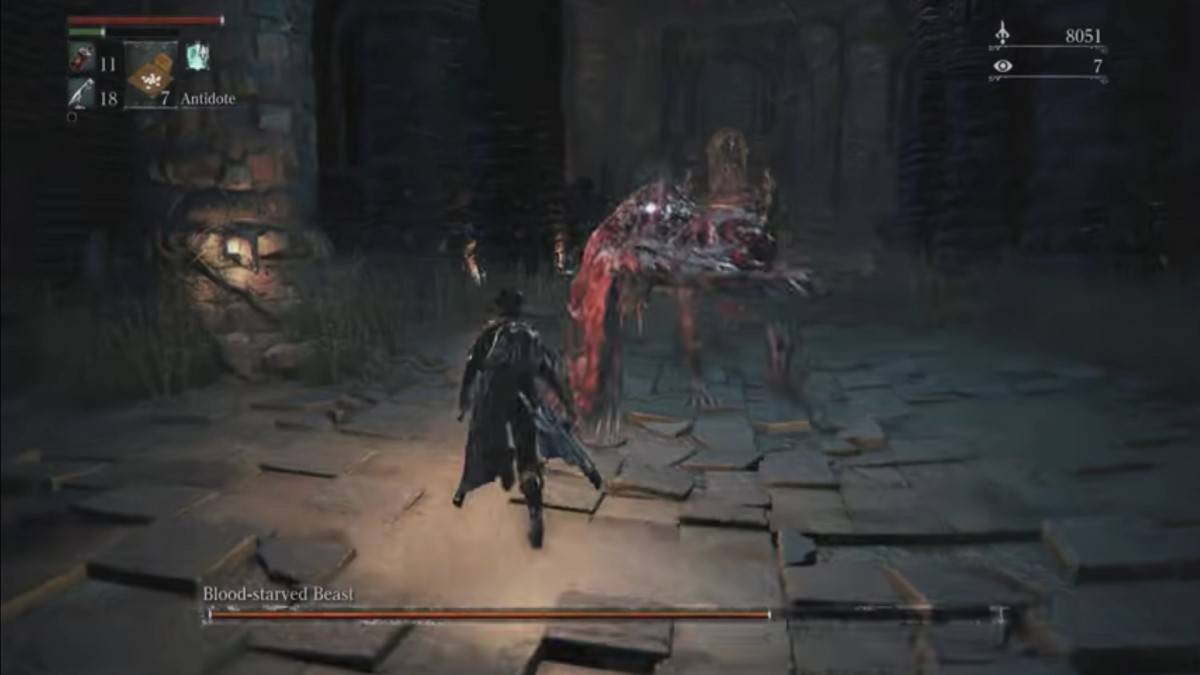
Area: Old Yharnam. Keep your distance and utilize fire or explosive weapons to deal effective damage.
Vicar Amelia
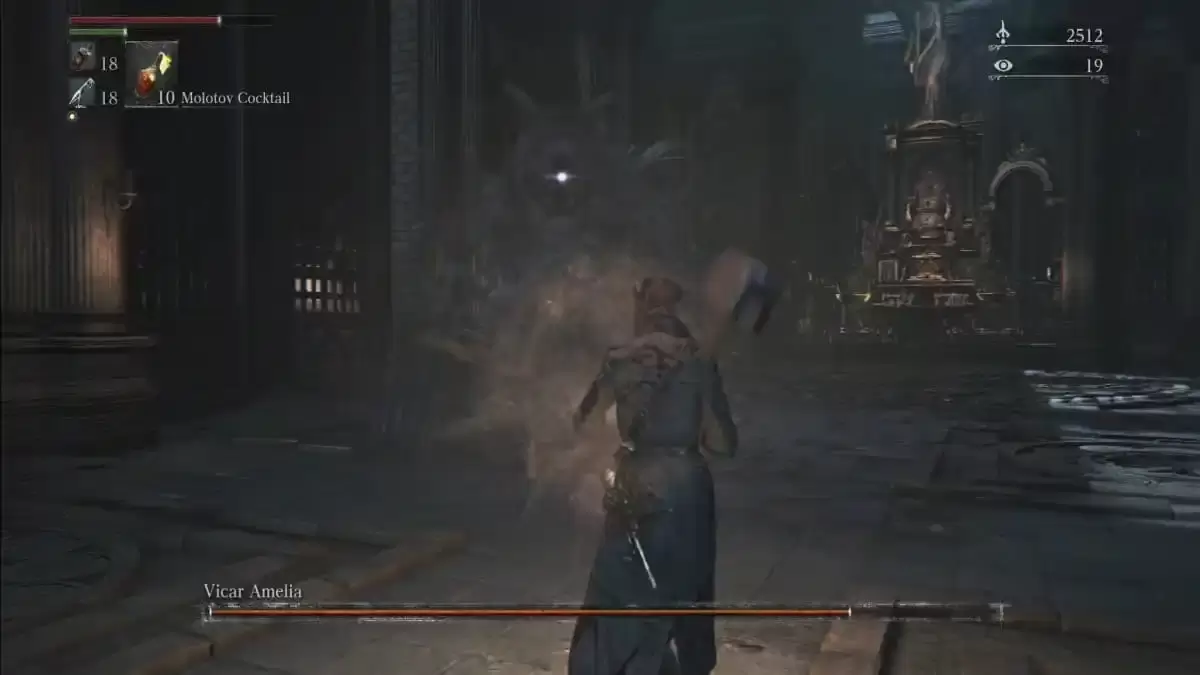
Area: Cathedral Ward. Exploit her self-healing animation for significant damage opportunities. Be wary of her glowing body during this phase.
The Witch of Hemwick (Optional)
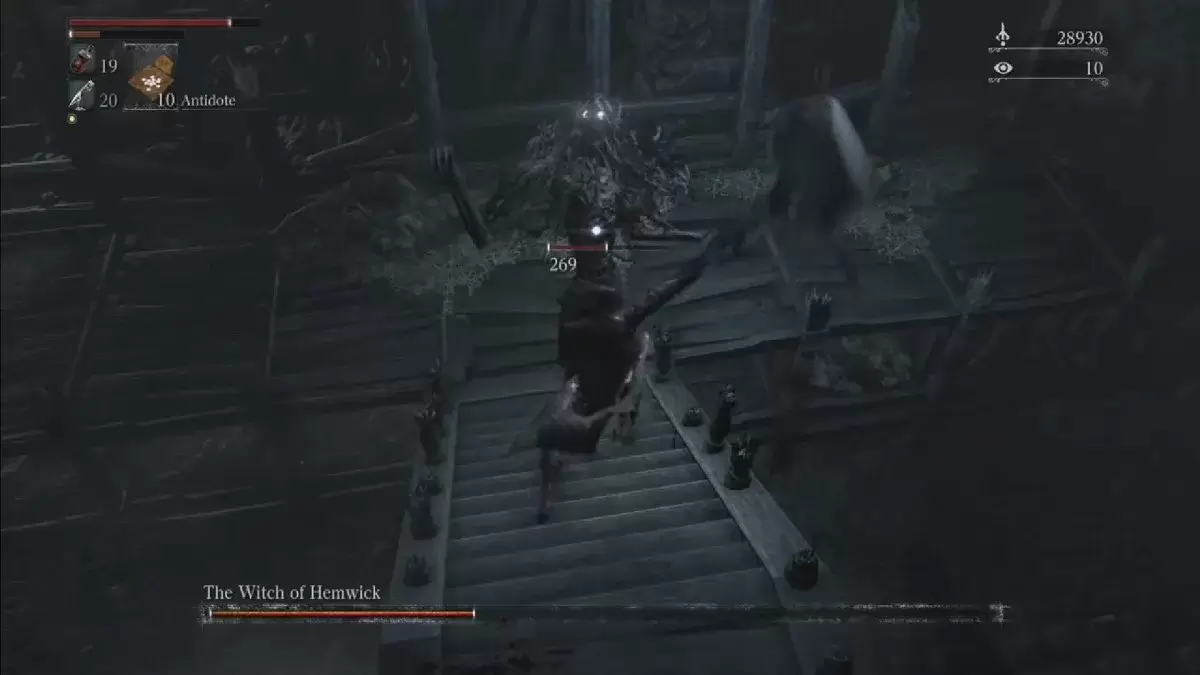
Area: Hemwick Charnel Lane. Deal with her minions first. She's invisible at range but visible up close; use your firearm to locate her.
Shadow of Yharnam
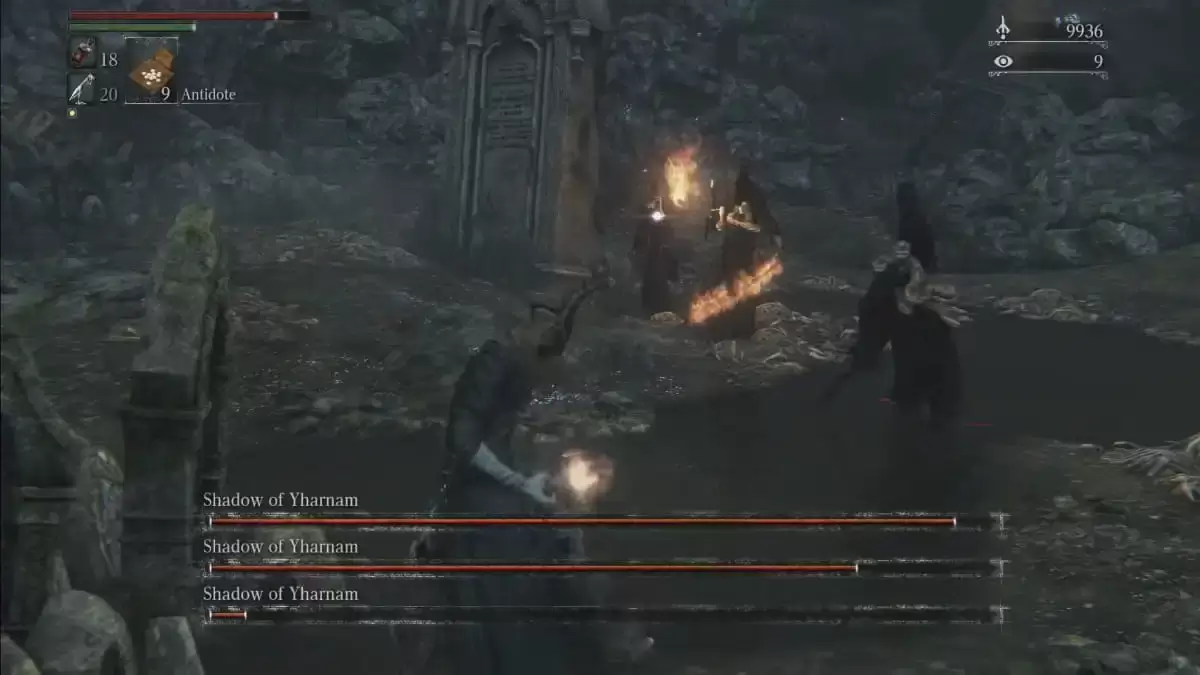
Area: Forbidden Woods. Dodge its attacks and target its head and legs for maximum damage.
Rom, the Vacuous Spider
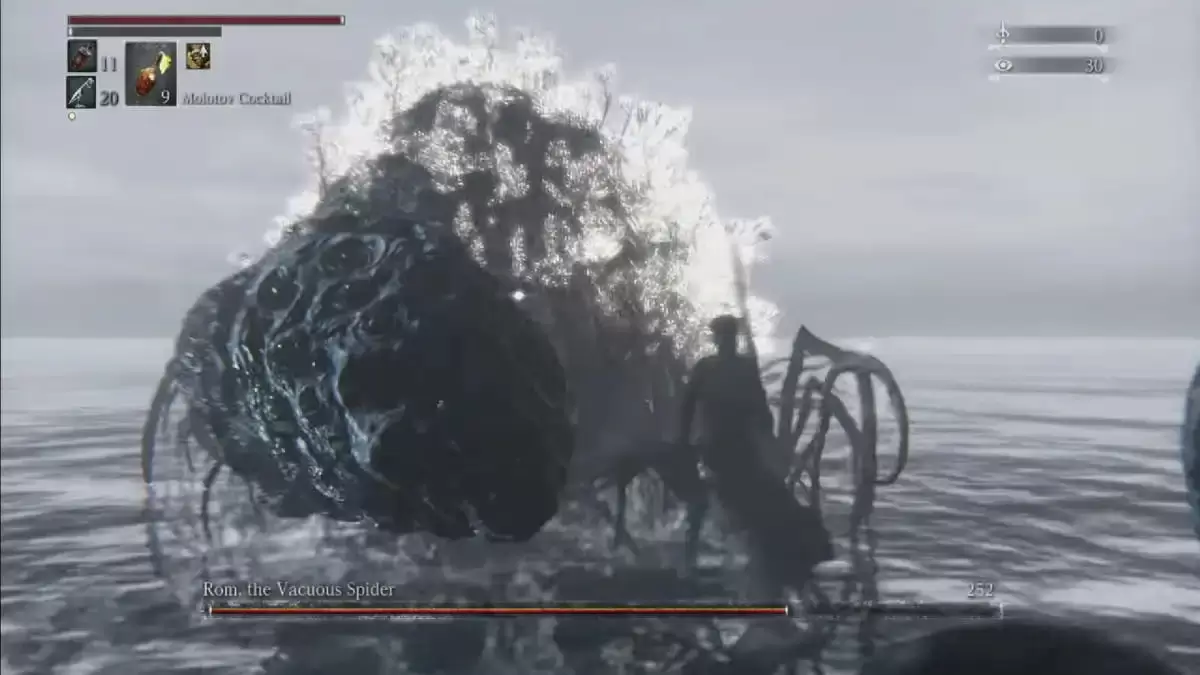
Area: Moonside Lake. Prioritize killing summoned spiders before focusing on Rom. Be mindful of its poisonous attacks.
Darkbeast Paarl (Optional)
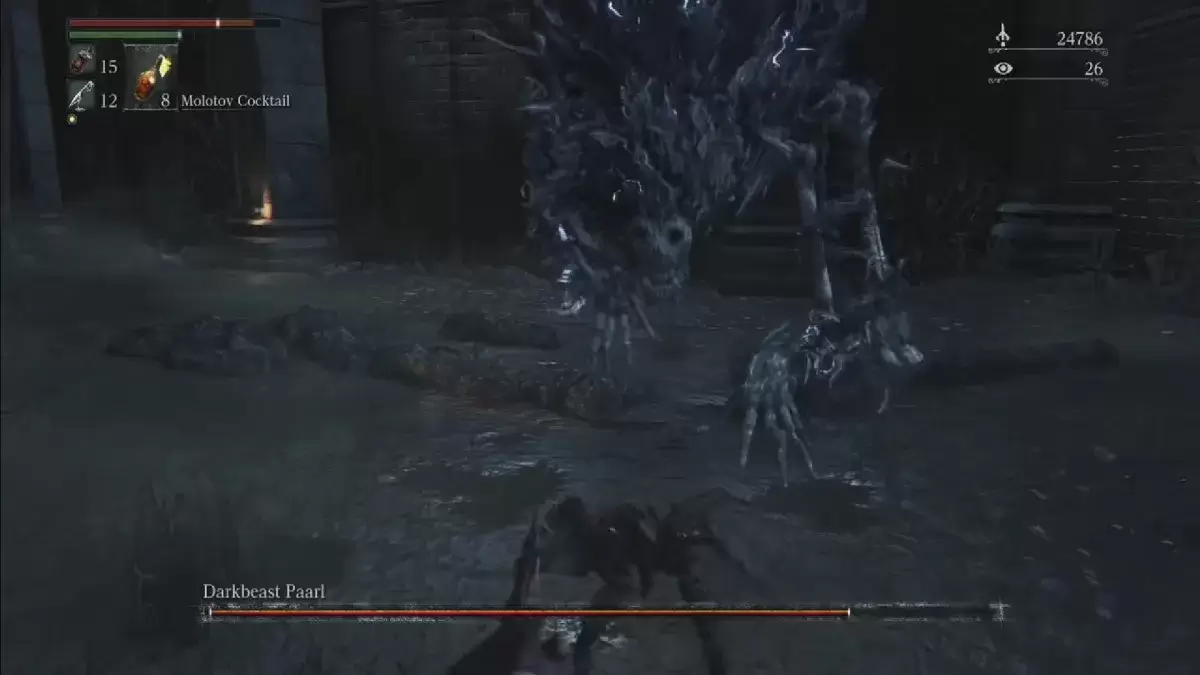
Area: Hypogean Gaol. A large, powerful beast; patience and strategic dodging are key.
The One Reborn
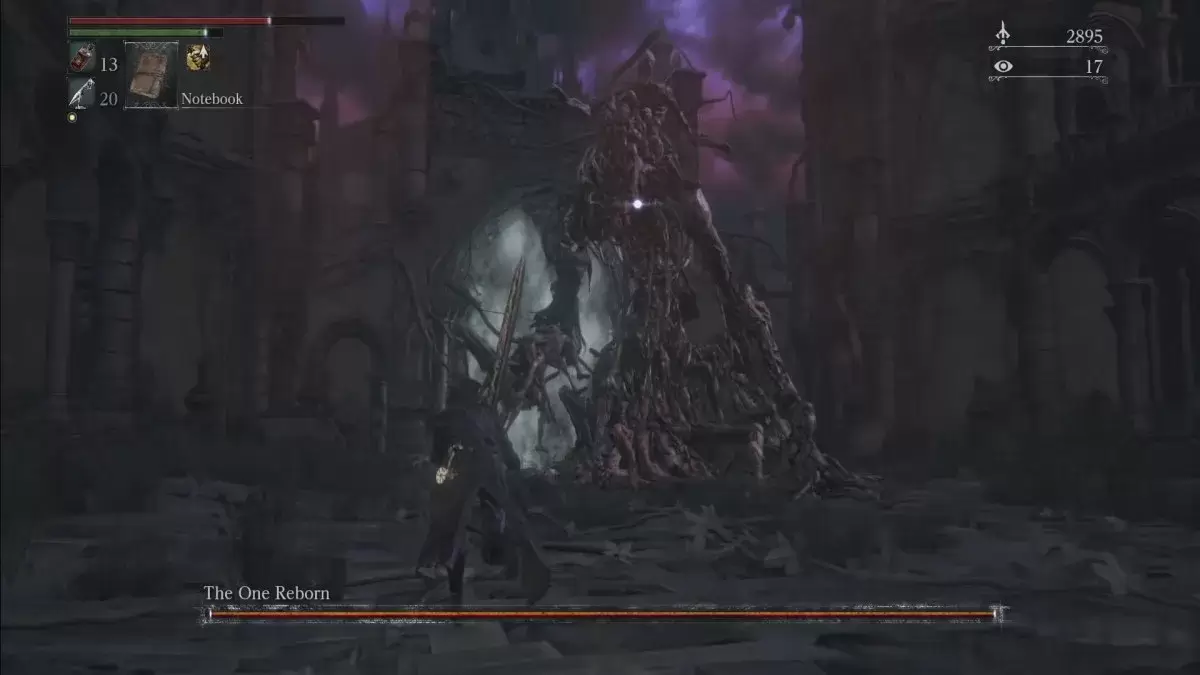
Area: Yahar’gul Unseen Village. Deals both physical and magical damage; keep your distance and attack when he's vulnerable.
Martyr Logarius (Optional)
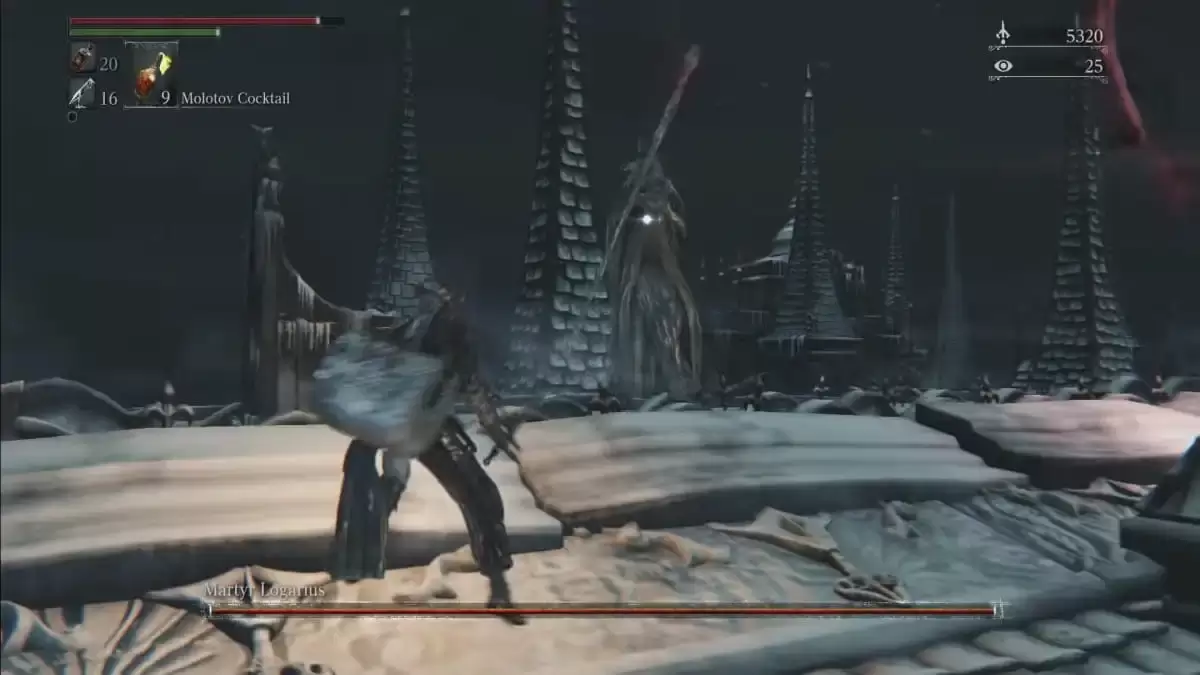
Area: Forsaken Castle Cainhurst. A challenging boss; mastering parries is highly recommended.
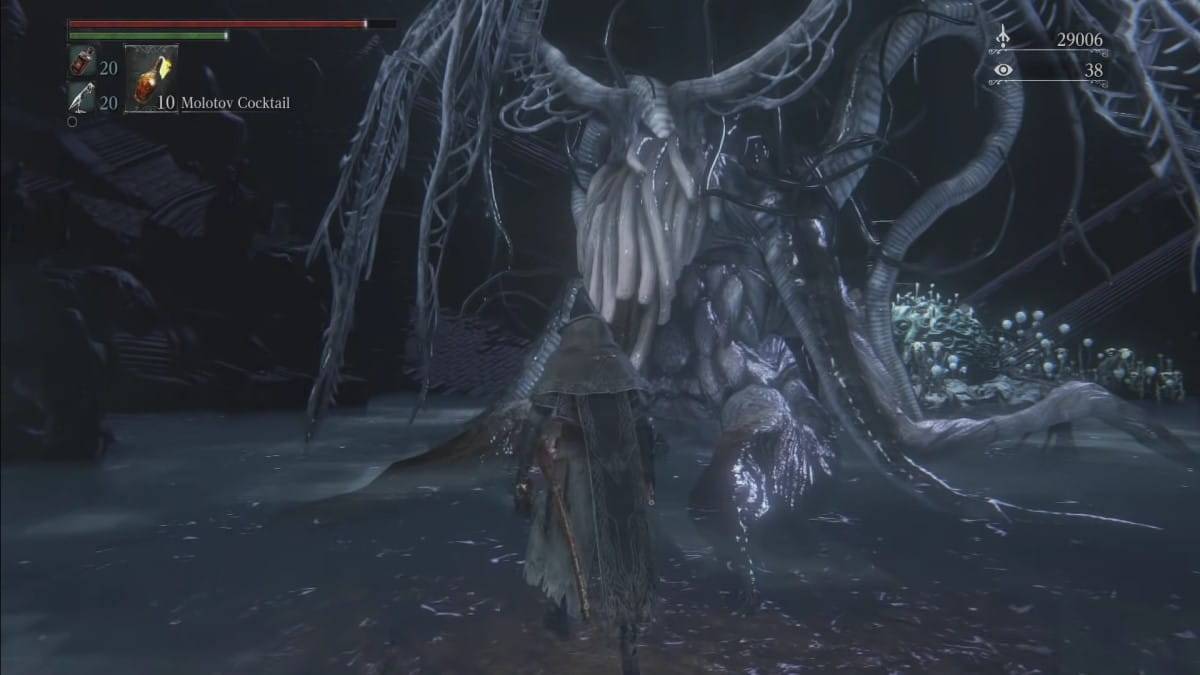
Amygdala (Optional)
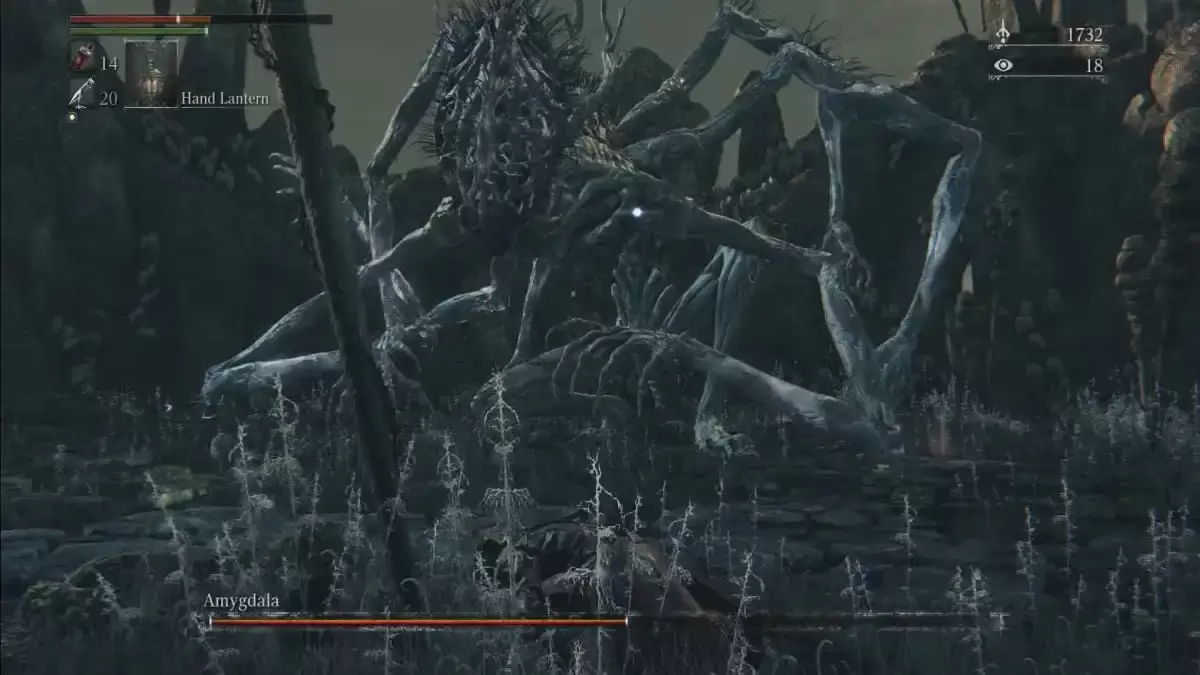
Area: Nightmare Frontier. A large, tentacled creature with a wide range of attacks; requires careful dodging and strategic attacks.
Celestial Emissary (Optional)
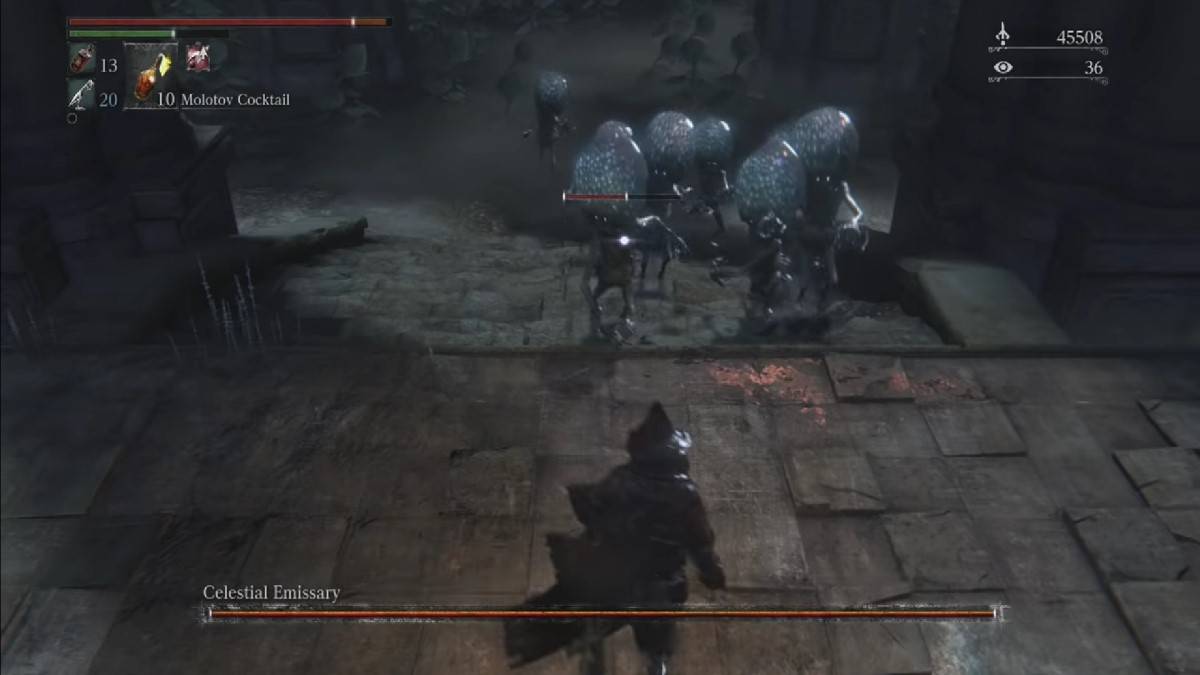
Area: Upper Cathedral Ward. Fast and dangerous; roll towards its legs to avoid attacks.
Micolash, Host of the Nightmare
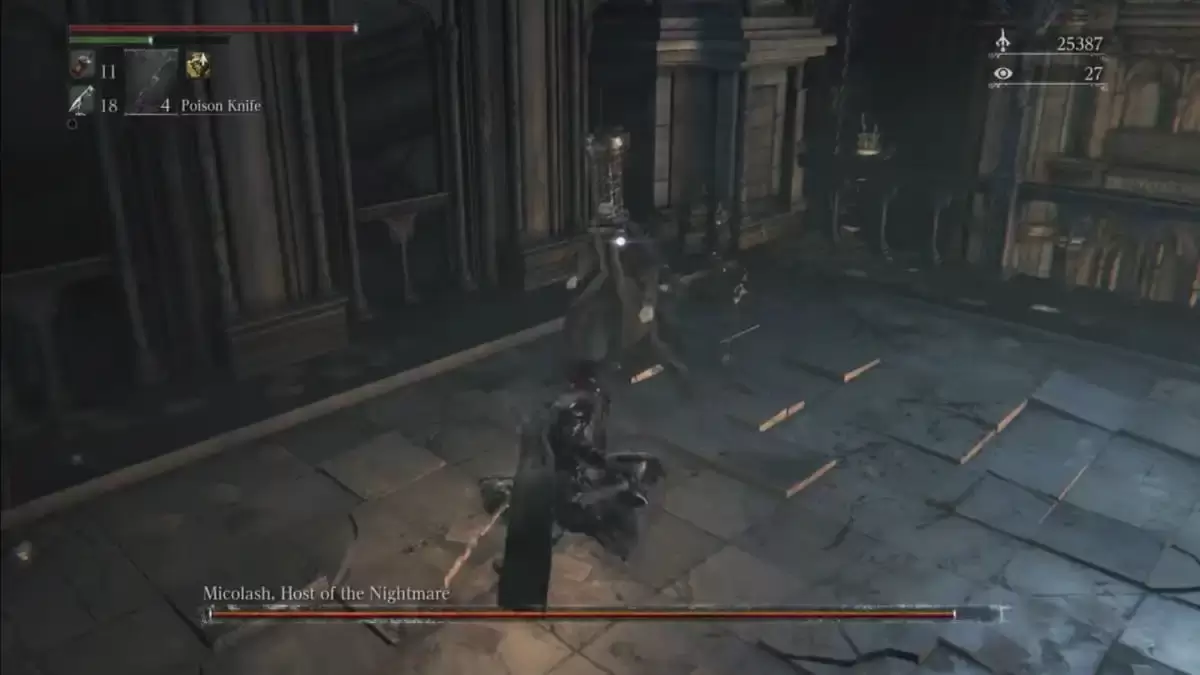
Area: Nightmare of Mensis. A somewhat elusive boss who uses fog and summons minions. Learn his patterns to effectively counter his attacks.
The Old Hunters Bosses
The *Old Hunters* DLC bosses are fought in a relatively linear order. After Ludwig, return to where you obtained the Eye Pendant to fight Laurence. Then, tackle Living Failures, Lady Maria, and Orphan of Kos. These bosses are exceptionally challenging.
Ebrietas, Daughter of the Cosmos (Optional)
Area: Altar of Despair. Uses both physical and magical attacks; be cautious of her head slam attack.
Mergo’s Wet Nurse
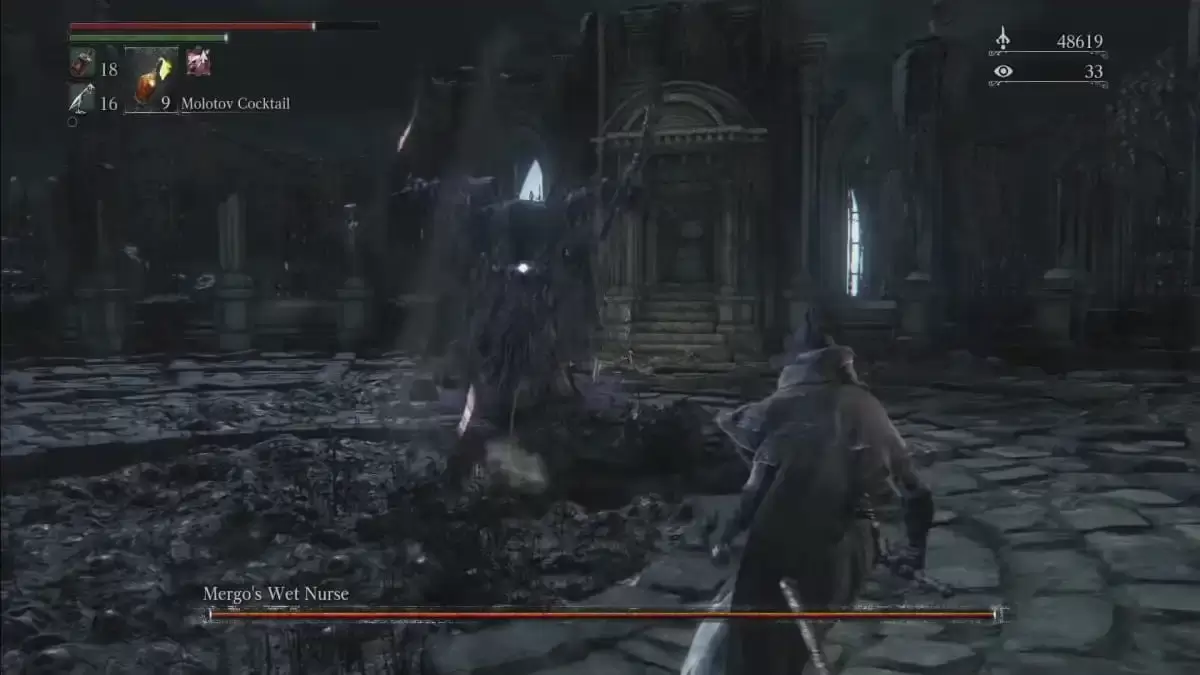
Area: Nightmare of Mensis. Uses tentacles and water projectiles; avoid damage during her fog attacks.
Gehrman, the First Hunter
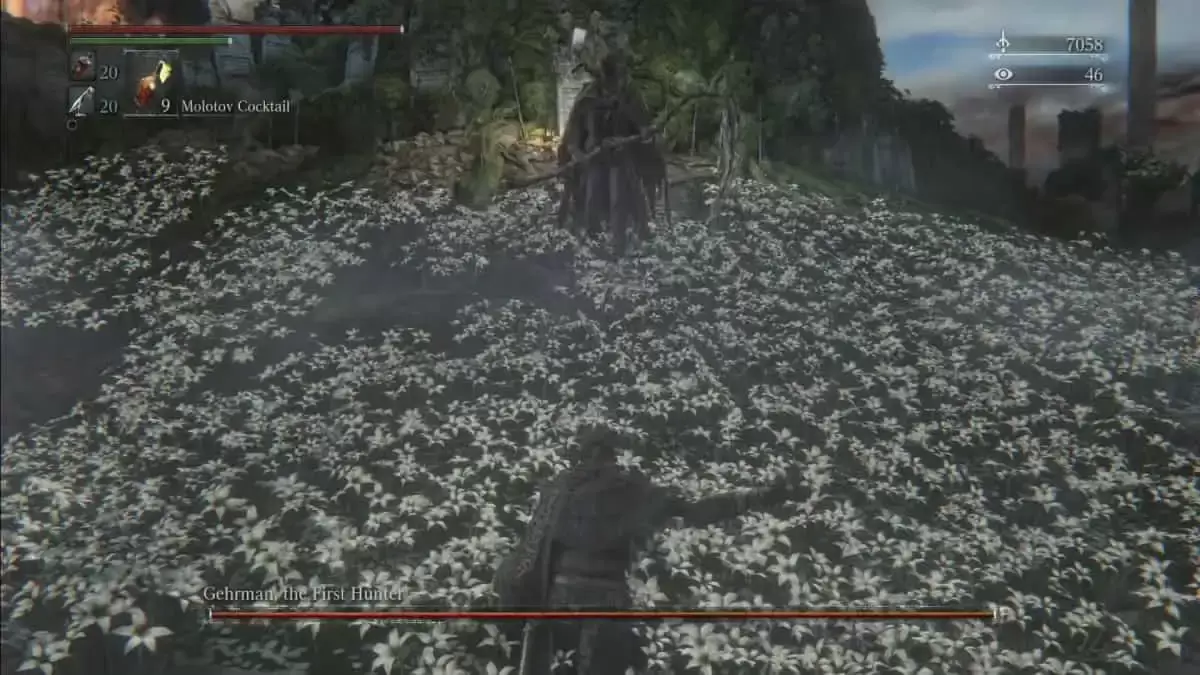
Area: Hunter’s Dream. The final non-optional boss; mastering parries is advantageous.
Moon Presence (Ending Specific)
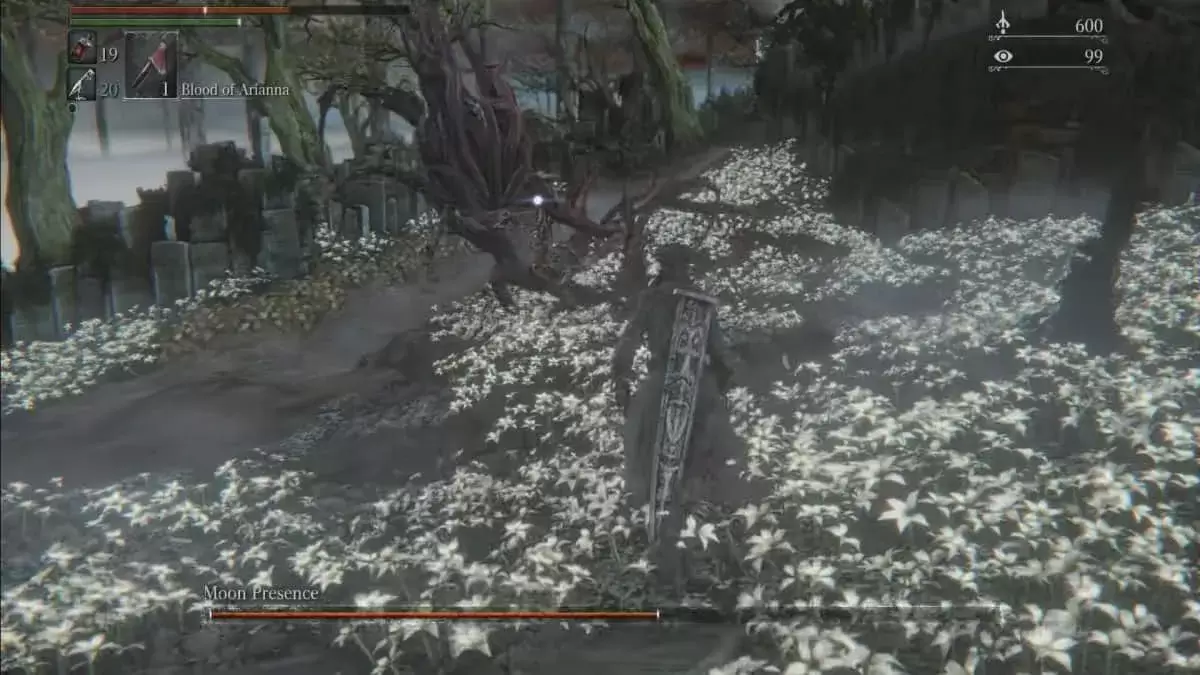
Area: Hunter’s Dream. The true final boss; requires obtaining three One Third of Umbilical Cords before fighting Gehrman. Refuse Gehrman's offer to fight the Moon Presence.
This detailed guide provides a comprehensive strategy for tackling Bloodborne's challenging boss encounters. Remember to adapt your strategies based on your playstyle and build.
For more Bloodborne news, check out our Bloodborne PSX, a brutal fan-made PS1 demake. For cool FromSoftware stuff in general, check out Armored Core VI.
Related: How to Access the Hunter’s Nightmare for Bloodborne DLC on Attack of the Fanboy
Update: This article was updated on 2/3/2025 by Escapist Editorial to include more information about the various bosses, provide a high-level summary of the boss order, and to include the bosses from the Old Hunters DLC.